How to Use Pandas Set Index
Published on
Data analysis in Python has been revolutionized by the Pandas library, with DataFrame being its core data structure. One key feature of DataFrames is the ability to manipulate its index structure. This article aims to provide a comprehensive guide on how to use the Pandas set_index() function.
Want to quickly create Data Visualizations in Python?
PyGWalker is an Open Source Python Project that can help speed up the data analysis and visualization workflow directly within a Jupyter Notebook-based environments.
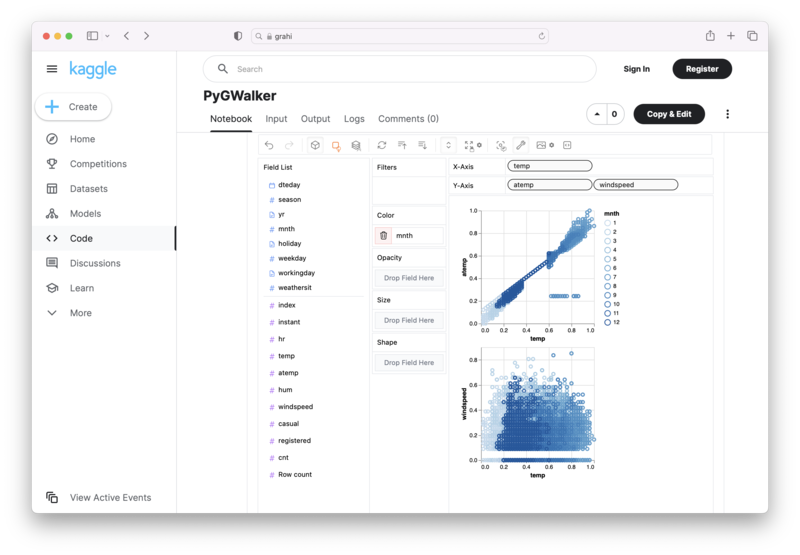
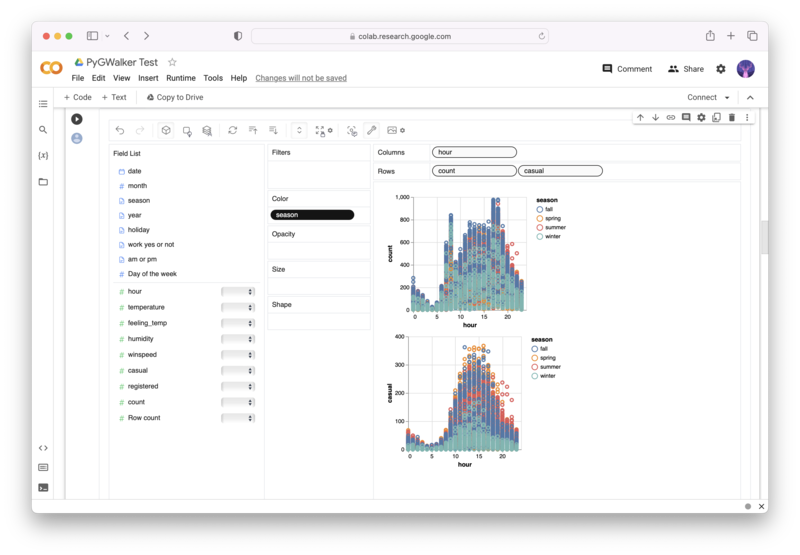
PyGWalker (opens in a new tab) turns your Pandas Dataframe (or Polars Dataframe) into a visual UI where you can drag and drop variables to create graphs with ease. Simply use the following code:
pip install pygwalker
import pygwalker as pyg
gwalker = pyg.walk(df)
You can run PyGWalker right now with these online notebooks:
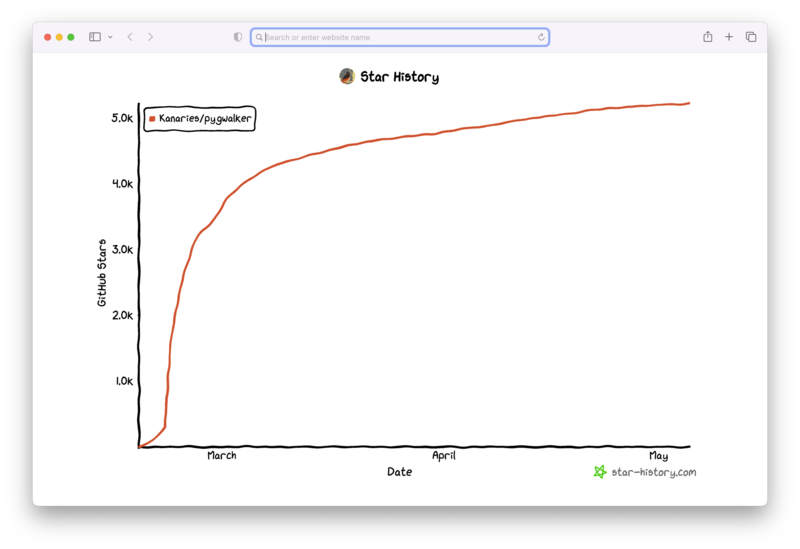
And, don't forget to give us a ⭐️ on GitHub!
Understanding Index in Pandas DataFrame
An index in a DataFrame serves as a label for the rows. By default, Pandas assigns integer values starting from 0 as the row labels. However, there are scenarios where these default indices are not sufficient, and you might need to set a specific column or a combination of columns as your DataFrame index.
Setting Index using set_index()
The function set_index() enables us to set a column as the index of a DataFrame. The basic syntax is as follows:
DataFrame.set_index('Column_Name')Here, 'Column_Name' is the column you want to set as the index.
Key Parameters of the set_index() Function
The set_index() function has several parameters to provide flexibility to the users. Let's dive deeper into understanding each of them.
keys: This could be either the column name or a Pandas Series, Index, or a NumPy array. This will be the new index of your DataFrame.drop(Default: True): If set to True, the column you're setting as the new index will be deleted from the DataFrame.append(Default: False): If True, the column you're setting as the index will be appended to the existing index, creating a multi-index.inplace(Default: False): If True, the changes occur in the DataFrame directly and the function does not return anything. If False, a new DataFrame with the changes will be returned.verify_integrity(Default: False): Checks for duplicate indices. This is useful when you want to ensure that the new index values are unique.
Practical Example of Using set_index()
Now, let's understand these parameters with some practical examples. Suppose we have a DataFrame df as below:
import pandas as pd

data = {
    'Name': ['John', 'Anna', 'Peter', 'Linda'],
    'Age': [28, 24, 32, 45],
    'City': ['New York', 'London', 'Berlin', 'Sydney']
}

df = pd.DataFrame(data)
Let's set 'Name' as our index:
df.set_index('Name', inplace=True)This will set the 'Name' column as the DataFrame's index and remove it from the DataFrame because the drop parameter defaults to True.
If we want to set the 'Name' column as the index but also keep it in the DataFrame, we can do:
df.reset_index(inplace=True)
df.set_index('Name', drop=False, inplace=True)
For creating a multi-index DataFrame by appending 'City' to the existing 'Name' index, use:
df.set_index(['Name', 'City'], inplace=True)Note: Before setting a new index, you may need to reset the index using df.reset_index(inplace=True) if you have already set one previously.
Conclusion
In this article, we've learned how to use Pandas set_index() to manipulate the DataFrame's index structure according to our needs. By understanding its key parameters, we can effectively perform index-based operations and improve our data analysis capabilities. Whether you're a beginner or an expert in Pandas, knowing how to properly use set_index() is crucial. It's now time to use what you've learned in your projects!


