How to Connect Streamlit to Snowflake for Effective Web Applications
- Name
- Olaf Källström
Published on
If you are in the world of data analysis, software development, or just a tech enthusiast with an interest in building web applications with Python, this comprehensive guide is tailored for you. As the realm of data grows, so does the need for efficient tools to handle and extract valuable insights from it. That’s where Streamlit and Snowflake come into play.
Streamlit, a fast-growing, low-code web framework for Python, allows you to build interactive and data-driven web applications with minimal coding. On the other hand, Snowflake, a cloud-based data warehousing platform, offers a robust solution for data storage, computing, and analytics. Together, they form an impressive duo that brings about convenience and efficiency in the data world.
Snowflake Native Application Framework
Embarking on our adventure, let's first take a pit stop at the hub of Snowflake's universe - the Native Application Framework. Imagine a toolbox brimming with features like stored procedures, tasks, streams, UDFs, Snowpark, and a bunch of others. That's exactly what this framework is all about!
Thanks to this arsenal of tools, application providers can:
- Utilize Snowflake's core functionalities for crafting their applications
- Distribute and monetize them on Snowflake Marketplace (think of it as an App Store!)
- Deploy the applications straight inside a customer's Snowflake account.
Once an app is crafted, Snowflake's robust secure data-sharing capabilities can distribute it across the globe via the Snowflake Marketplace. Users can then deploy this application directly from the Marketplace into their Snowflake account.
The Native Application Framework isn't just a set of features, but a gateway to a realm of possibilities. When coupled with a low code UX framework such as Streamlit, this blend sparks magic.
Streamlit in Snowflake
Swooping into the world of Streamlit, this free, open-source framework is a breath of fresh air for those looking to build beautiful web apps for machine learning and data science.
Created with the goal of simplifying life for data scientists or machine learning engineers, Streamlit makes it easy to whip up fantastic applications with just a few lines of code.
Have you heard of this awesome Data Analysis & Data Visualisation tool, that turns your Streamlit App into Tableau?
PyGWalker (opens in a new tab) is a Python Library that helps you easily embed a Tableau-like UI into your own Streamlit app effortlessly. Check out this amazing video produced by Sven from Coding is Fun (opens in a new tab) demonstrating the detailed steps for empowering your Streamlit app with this powerful Data Visualization Python Library!
Special Thanks to Sven and his great contribution (opens in a new tab) to PyGWalker community!
Additionally, you can also check out PyGWalker GitHub Page (opens in a new tab) for more PyGWalker examples.
When integrated with Snowflake (cleverly dubbed SiS), it enables you to write Streamlit code directly inside Snowflake, using Python. You simply create a Streamlit object (like other schema objects in Snowflake), name your app, assign a warehouse, and decide the app's location. As it's nested snugly within Snowflake, role-based access controls are consistently enforced.
The cherry on top? You can deploy your Streamlit app, share it with others using a link, and even view it on your mobile device. Pretty neat, huh?
Prepare for the Streamlit + Snowflake Integration
Create a Snowflake Database
Before diving into creating the web application, it's vital to set up a Snowflake database which we will later connect to our Streamlit app. Let's walk through the steps to create a Snowflake database:
- Sign up for a Snowflake account at https://signup.snowflake.com (opens in a new tab).
- Check your “Welcome to Snowflake!” email for the account URL to access your Snowflake account. Use the
LOG IN TO SNOWFLAKEbutton or copy the account URL into your browser. - Enter your Snowflake credentials.
- Once logged in, you'll land on the Worksheets panel.
- To create a new SQL Worksheet, follow the provided instructions in the Snowflake interface.
- Enter the following SQL query into the query box to create a simple
PETSdatabase and populate it with some data:
CREATE DATABASE PETS;

CREATE TABLE MYTABLE (
    NAME varchar(80),
    PET varchar(80)
);

INSERT INTO MYTABLE VALUES ('Mary', 'dog'), ('John', 'cat'), ('Robert', 'bird');

SELECT * FROM MYTABLE;- After running the query, the
PETSdatabase will be created. Return to the main page. - From the main page, click on the Data tab to view our newly created
PETSdatabase.
Setup the Environment
Now, let's proceed to setting up our coding environment with Anaconda
conda create -n snowpark python=3.8
conda activate snowpark
pip install snowflake-snowpark-python streamlit
Remember, you can deactivate the conda environment after your coding session with conda deactivate.
Let's move forward to setting up the directories and files for our Streamlit app:
First, we create a new directory for our project. Open up your terminal and type:
mkdir streamlit-snowflake-app && cd streamlit-snowflake-app
touch main.py secrets.py .gitignore- The
main.pyfile is where we will write our Streamlit application. - The
secrets.pyfile will store our Snowflake access credentials. - The
.gitignorefile will ensure we don't accidentally commit these sensitive credentials to a public repository.
Let's Build a Streamlit App with Snowflake
Now comes the exciting part: building the Streamlit application. Here we will query the PETS database we created earlier and display the results in our Streamlit app.
- Import the necessary libraries in the
main.pyfile:
import streamlit as st
from snowflake.snowpark import Session
from secrets import SNOWFLAKE_ACCOUNT, SNOWFLAKE_USER, SNOWFLAKE_PASSWORD- Establish a Snowflake session using the credentials stored in
secrets.py:
session = Session(url=SNOWFLAKE_ACCOUNT, user=SNOWFLAKE_USER, password=SNOWFLAKE_PASSWORD)- Fetch data from Snowflake:
df = session.sql("SELECT * FROM PETS.MYTABLE").to_pandas()- Display the data on Streamlit:
st.write(df)- Store screens in
secrets.toml
touch secrets.tomlIn secrets.toml, add your Snowflake credentials:
[secrets]
SNOWFLAKE_ACCOUNT = "your_account"
SNOWFLAKE_USER = "your_username"
SNOWFLAKE_PASSWORD = "your_password"
Update the main.py file to use Streamlit's secret management:
session = Session(url=st.secrets["SNOWFLAKE_ACCOUNT"], user=st.secrets["SNOWFLAKE_USER"], password=st.secrets["SNOWFLAKE_PASSWORD"])Do not forget to update the .gitignore as well.
Voila! You've just built your first Streamlit app that connects to a Snowflake database. To run the app, use streamlit run main.py in your terminal.
How to Deploy a Streamlit App
With the app ready and secrets securely managed, it's time to share your work with the world. Streamlit provides a platform called Streamlit Share for deploying applications:
- Commit your project to a public GitHub repository (excluding the
secrets.tomlfile). - Visit share.streamlit.io (opens in a new tab) and click on Deploy an app.
- Select your GitHub repository and branch, then specify
main.pyas the application file. - In the Secrets section, click on Add a secret and input the key-value pairs from
secrets.toml. - Click on Deploy. Streamlit Share will take care of the rest!
Conclusion
Connecting Streamlit to Snowflake opens up a world of possibilities for creating efficient, interactive web applications with Python. This guide has shown you a step-by-step process to integrate these two powerful platforms, from setting up a Snowflake database and Streamlit application, to managing secrets and deploying the app. With a little creativity, you can adapt this process to suit a variety of applications and workflows.
Now that you're equipped with this knowledge, go ahead and create data-driven apps that make a difference.
Want to Easily Visualize Snowflake Data? RATH (opens in a new tab) gives you the easiest solution for AI-powered Data Visualization and a complete package for Automated Data Analysis!
Watch the following video about how to Explore Data Insights easily with RATH:
Want to connect your Snowflake database to RATH now? Check out the RATH Documentation for a step-by-step guide of Snowflake intergration.
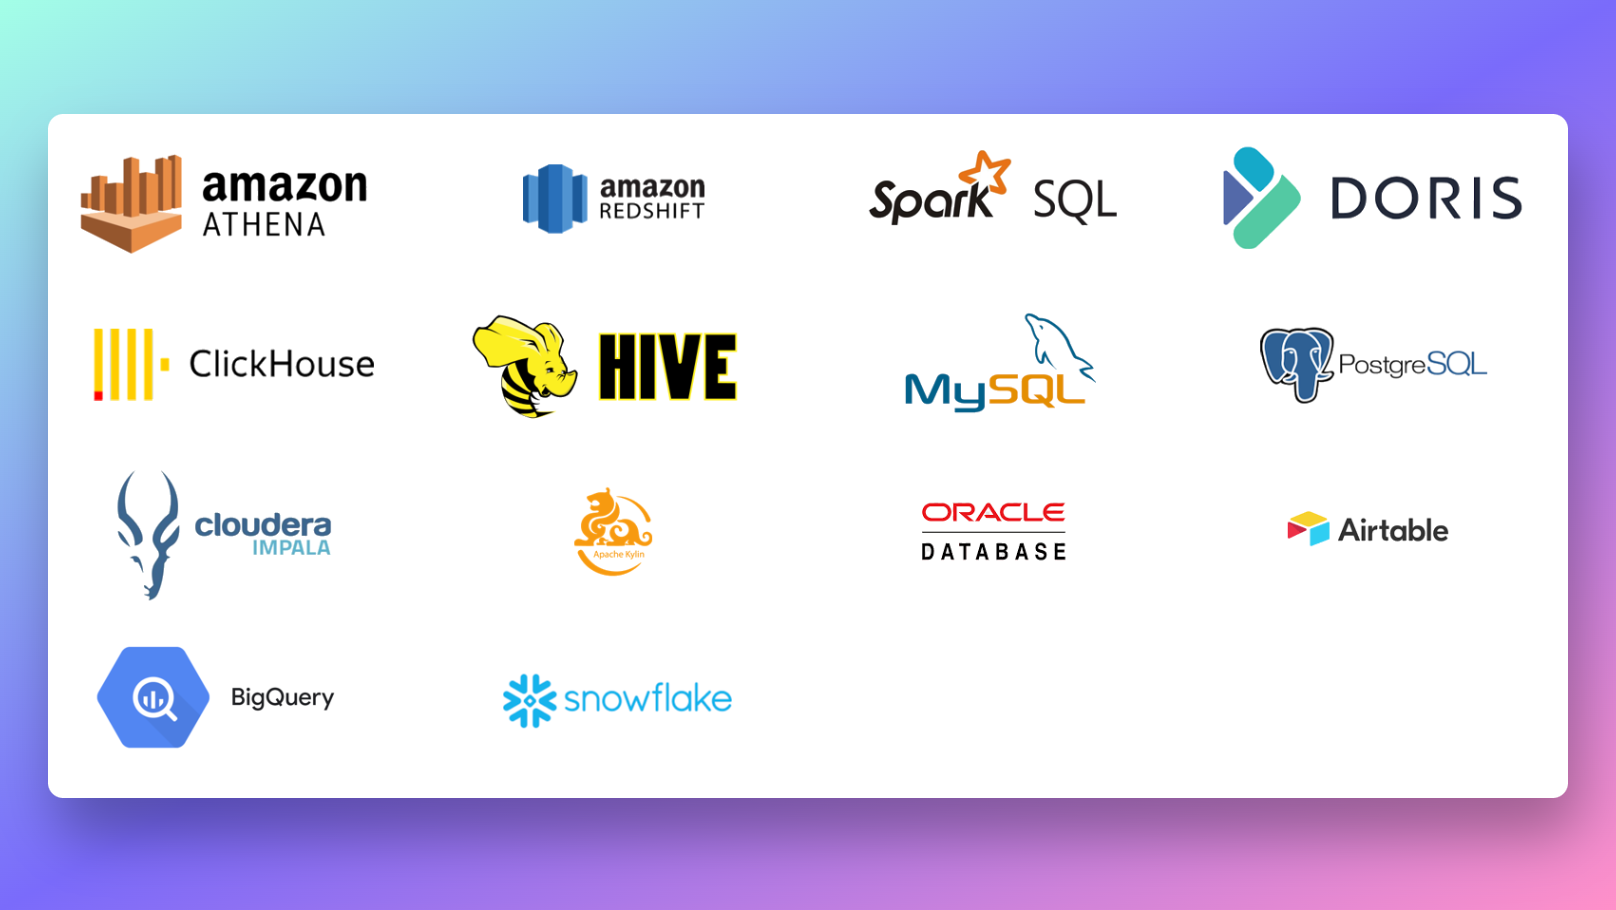
Beyond Snowflake, RATH supports a wide range of data sources. Here are some of the major database solutions that you can connect to RATH:
Interested? Give RATH a try right now at RATH Website (opens in a new tab)

Frequently Asked Questions
What is Snowflake in Streamlit?
Snowflake in Streamlit (SiS) refers to the integration of Streamlit within the Snowflake platform. SiS allows users to write Streamlit code directly in Snowflake, leveraging Snowflake's capabilities for data storage, processing, and security.
Is Streamlit owned by Snowflake?
No, Streamlit is an independent open-source project and is not owned by Snowflake. Streamlit is widely used in the data science community for building interactive web apps, while Snowflake is a cloud-based data platform.
What is Snowpark for Python and Streamlit?
Snowpark is a feature in Snowflake that allows developers to write code in different programming languages. Snowpark for Python enables users to write Python code and integrate it with Snowflake's data processing capabilities. Streamlit in Snowflake leverages Snowpark for Python to enable users to write Streamlit code directly within Snowflake, creating interactive data applications.